
So I‘ve been using Microsoft Team Foundation Server and its cloud-based successor Azure DevOps for a few years now, after needing a way to get some code off my laptop and into prod. I won’t delve into that one here – Git and CI/CD are stories for other days – but along the way I discovered another handy feature: Azure Boards. For those of you new to Azure DevOps, Azure Boards is not so much about code as managing workload. It’s based around Agile principles and can be configured on a per-project basis to align with whichever Agile methodology is closest to how you work.
But what if you’re not wanting to worry about Agile and just want a way to track and organise work? What if you need a tool that gives you an alternative to sticking dozens of Post-It notes on a whiteboard to figure out priorities and visualise what you want to get done? What if you’re all of the above and you’re a freelancer and/or small team and you don’t want a huge outlay on software to manage this? “Hello Azure Boards” would be one answer to these questions.
I’ve been trialing it for my own personal projects for about six months and have found it extremely useful. In fact, I’m using to help organise the content for this blog.
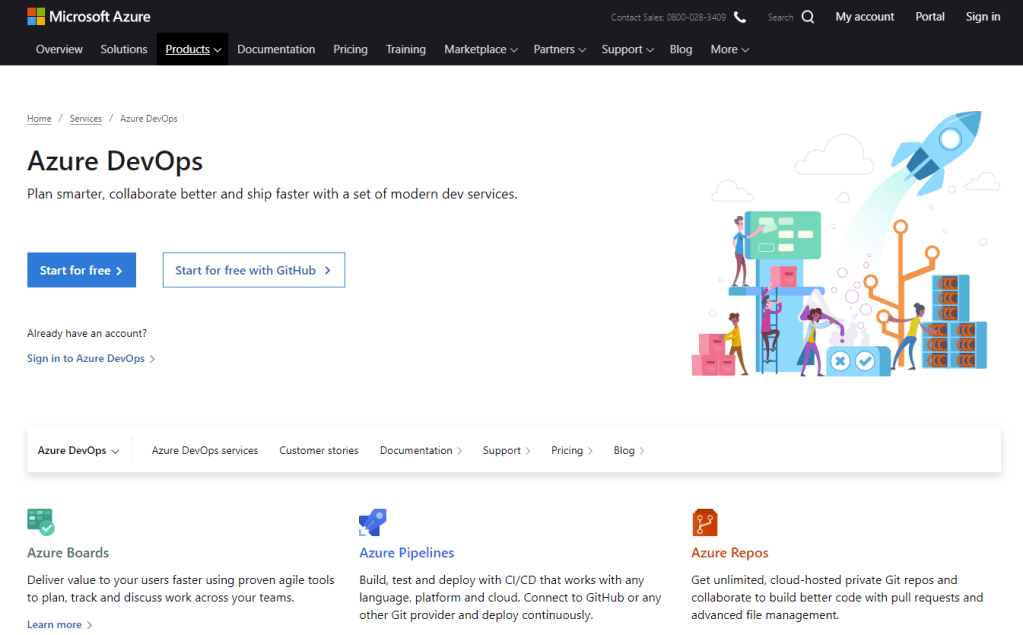
To start with, go to https://azure.microsoft.com/en-gb/services/devops/ to see what you can do with it. Then once you’re ready, click on the blue “Start for free” button to create a new Azure DevOps organisation. The first five users are free for the Basic plan, so this is a great option for getting started.
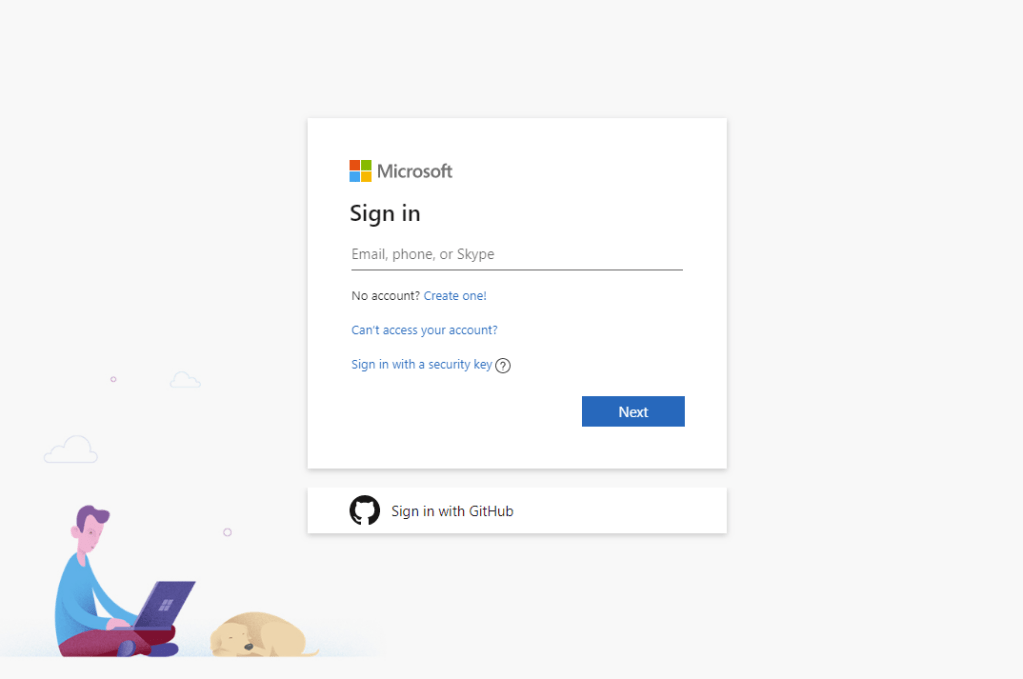
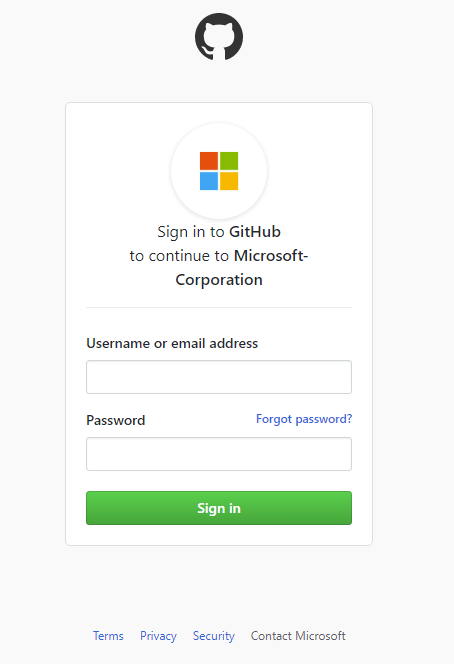
Alternatively, if you have a GitHub account, you can sign up using that as well.
Once you sign up, you’ll be greeted with your organisational landing page and you’ll be prompted to create a new project. You’ll need to give a name and optionally a description. Next, you’ll need to select whether you want it to be a private or public project. Private projects mean you can specify who you want to have access to a project, while public projects are visible to anyone (which may be useful if you’re creating open-source software and are interested in having anyone contribute to your project). We’re selecting Private for this one. Next, you’ll need to specify a version control method; as we’re doing this just for planning rather than code management, leave it on the default of Git. Finally, you need to select a work item process. Azure Boards comes with four process templates for managing work: Basic (currently in Preview), Scrum, Agile and CMMI. In this example, we’ll make use of the Basic work item process to make it easier to get going.
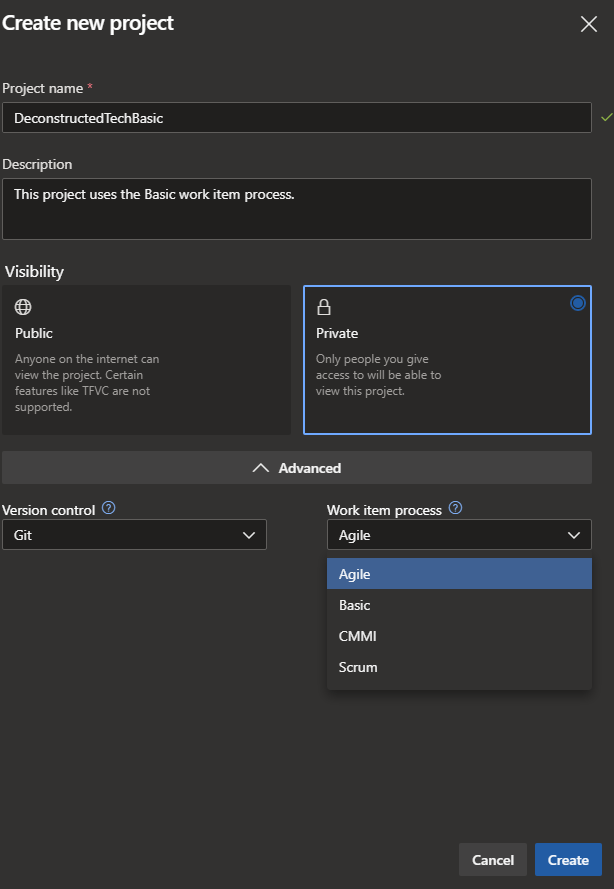
When you’re done, click Create.

Our project is now created. For this series, we’re only interested in the Boards blade on the left hand side.

That said, you can also invite other people using the Invite button towards the top right corner (useful if you’re working in a small team); you can see who is already a member in the bottom right section marked Members.
If you hover your mouse over the Boards blade, you’ll see a context menu pop out. We’ll discuss each of the options briefly here and then do a deeper dive in a later post.
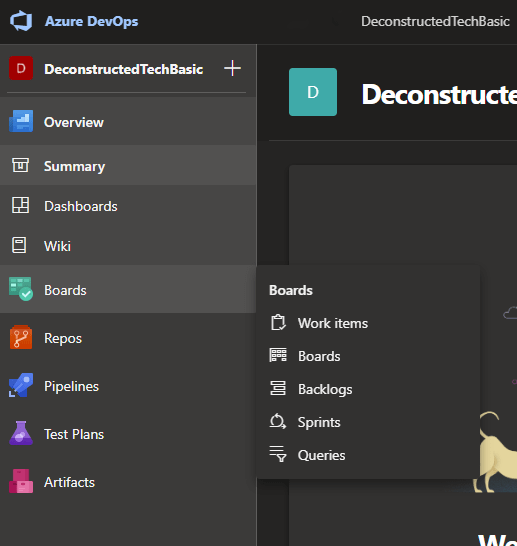
Work Items relates to specific pieces of work that you’re doing. It will show you all work items by default but you can filter them by specific parameters, such as who they are assigned to or what type of work item they are (more on that later).
Boards is a virtual task board using the Kanban style. Tasks are organised by their level of completion (ie New, Active, Resolved or Closed). You can drag and drop items between them as you progress. It gives you a good visual impression of what your workload is.
Generally, you would schedule the work items that you’re working on based on a pre-defined block of time called a Sprint. Sprints are often set to be a week or fortnight worth of work, but can be longer or shorter as per your requirements (as an example, I organise my sprints for this blog on a fortnightly period of time). With that in mind, the Backlogs and Sprints pages show a similar layout to each other and are oriented towards work planning and scheduling. Backlogs shows items from the perspective of the type of work item, while Sprints show items from the perspective of a single sprint. You might look at the Backlogs page to get an idea of the tasks associated with a particular stream of work, while you would look at the Sprints page to see what is scheduled for the current time period. On both pages you can allocate items to particular sprints.
Finally, the Queries page allows you to ask questions of your work items by writing queries. For example, you could write a query that asks what work do I have remaining in this sprint based on the number of hours left.
That’s it for this post. We’ll do a deeper dive in the next post in the series around the different types of work items and how you can use them to organise your work. Check back soon for the next post in the series or subscribe to my email list using the Follow Blog via Email option on the sidebar. And if you’ve got any questions, feel free to get in contact or leave a comment below. Thanks and speak soon!

Pingback: Using Azure DevOps for General Planning – Work Items – Deconstructed Tech
Pingback: Using Azure DevOps for General Planning – Sprints and Time Management – Deconstructed Tech
Great article! I really appreciate how you break down the practical uses of Azure Boards beyond traditional Agile setups, making it accessible for freelancers and small teams. I found the explanation of Sprints and Backlogs particularly helpful for visualizing workload and organizing tasks effectively. For readers looking to explore broader Azure ecosystem options, here’s a valuable resource on Azure cloud providers in Maryland that complements this discussion.
LikeLike